Dip powder nails offer a gorgeous, long-lasting finish. But if the manicurist misses a few things, the results will disappoint you. Instead of enjoying the manicure for weeks, the finish may start to lift after only a couple of days. If you want to know the three reasons your dip nails are lifting and learn how to fix them, keep reading.
What Is Lifting?
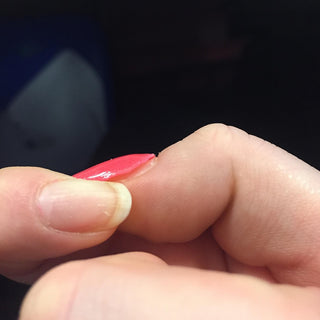
Lifting is when the nail enhancement separates from the nail bed. It can happen at the tip or near the cuticle. It might be barely noticeable initially but may quickly grow until the finish peels from the fingertips.
What Causes Lifting?
There are three main reasons why dip powder nails lift. They all have to do with adhesion, or how well the finish sticks to the surface.
Moreover, the root of each problem has to do with nail preparation.
Surface Is Too Smooth
Were the nails buffed to remove the shine? This opens up the surface on a microscopic level so that the adhesive products penetrate and bond with the nail.
Skin Is in the Way
If the cuticles aren't pushed back out of the way, the product may stick to the skin instead of just the nail.
Oily Nail Beds
It's crucial to cleanse the nails before painting them. They need to be clean, dry, and oil-free.
There's also a chance that using different brands of products together will cause lifting. When possible, use dipping essential liquids from one brand only.
Dipping Essentials
How to Fix a Dip Nail That Has Lifted
Instead of replacing the entire manicure, you may be able to fix the nail that has lifted. If the polish as a whole has popped off, you can try gluing it back on. First, cleanse the nail with rubbing alcohol and a lint-free wipe. Then, add a dot of nail glue and press the polish in the place.
If a piece has broken off, try using a fine-grit file or nail drill to smooth the edges of what's left. Cleanse the surface and reapply the dip powder using the proper steps.
How to Prevent Dip Nails from Lifting
The best way to prevent the finish from lifting is to follow all the instructions required for the dip powder nail system you're using.
Moreover, don't skip steps during nail prep. It may feel like the least glamorous part of a manicure, but proper nail preparation is crucial for spectacular results.
Push Back the Cuticles and Remove Excess Skin
If the polish is stuck to the skin instead of the nails, it will lift. One of the most critical steps in preparing for a dip powder manicure is to push back and remove the dead skin from the nails. You can do this with a cuticle pusher, cuticle remover cream, nail drill, or fine-grit buffer block or file. Pros recommend 180-grit for removing dead skin and buffing the nail plate.
Be meticulous about this part of nail prep, and it will pay off. Then, you will only see lifting if the nails are oily or damp when you dip them.
Remove the Shine from the Surface
You probably know you must sand first if you've painted your house or furniture. Roughing up the surface makes the paint stick better. The same is true for nail polish. If the nails are slick, the polish won't adhere.
Still, be gentle. Use a light touch to buff away the natural shine with a fine-grit file. If your nails are ridged, it's tempting to smooth them but resist the urge. Use a ridge filler instead. Keep your natural nails healthy and strong; don't grind them down and weaken them.
Cleanse the Nails
Once the cuticles are under control and the nails are no longer shiny, it's time to cleanse them of debris, oil, and moisture. Clean them with a lint-free wipe and rubbing alcohol. Please don't use cotton pads, as they will leave fuzzies behind.
After the manicure is complete, you can replenish the nails and skin with cuticle oil and hand cream.
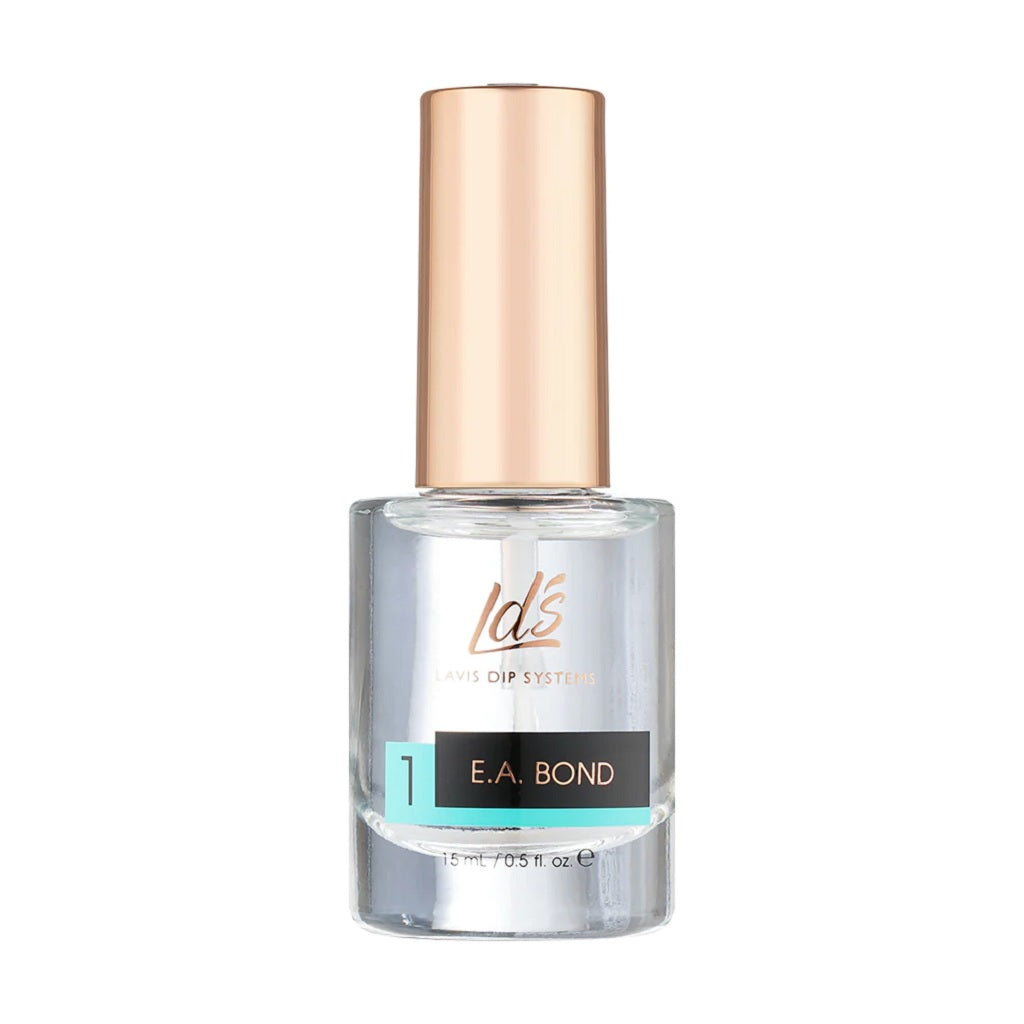
Dehydrate and Prime
Next, apply the dehydrator or primer recommended for your dip powder system.
For example, LDS has the E.A Bond liquid. Brush it on and let it dry for a few seconds. It will take care of excess oil and water in the nails.
LDS Dipping Powder Essentials #1 E.A Bond
Use Liquids from the Same Brand
It's not a marketing trick to keep you buying from the same company. Brands typically formulate their products to work well together. But the good news is that it's usually okay if you use liquids from Brand A and powders from Brand B and C. However, double-check. There are a few exceptions, like SNS's pre-bonded powder.
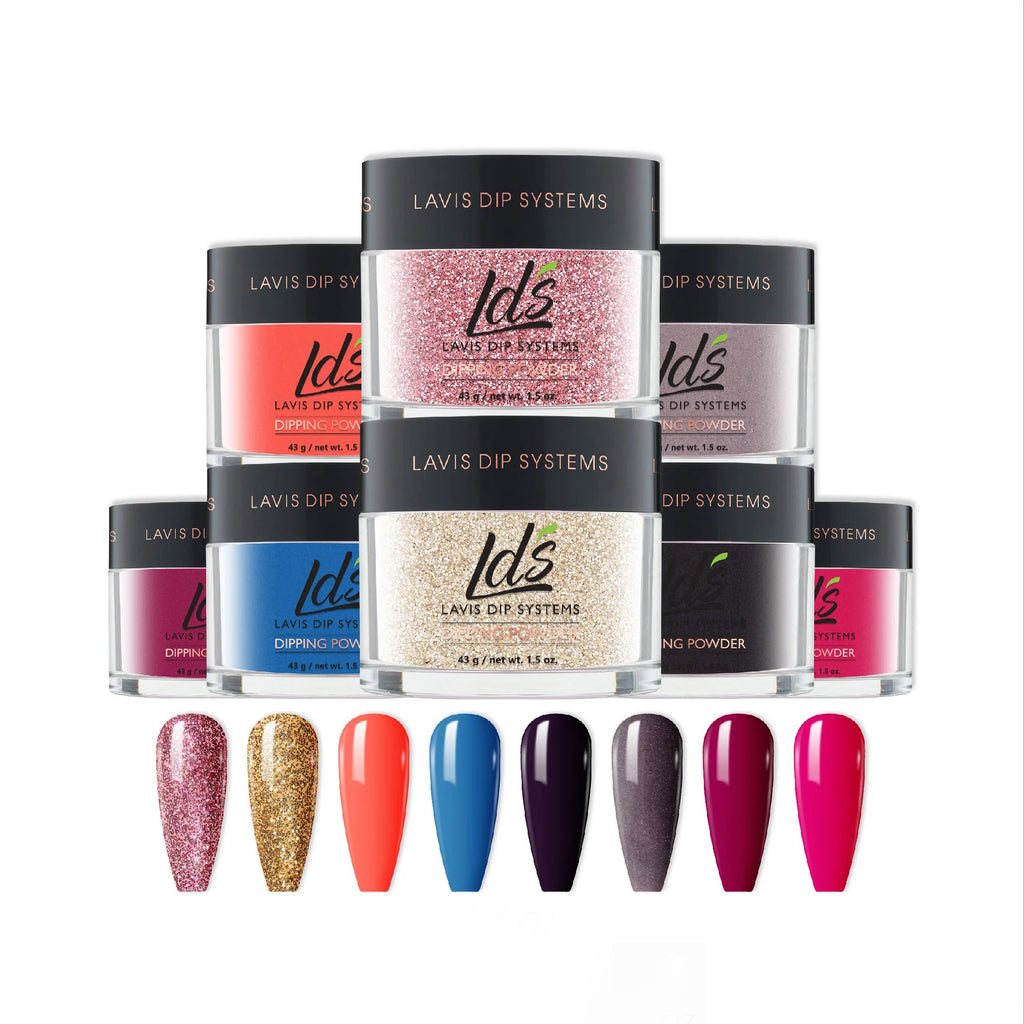
LDS Dipping Powder Colors
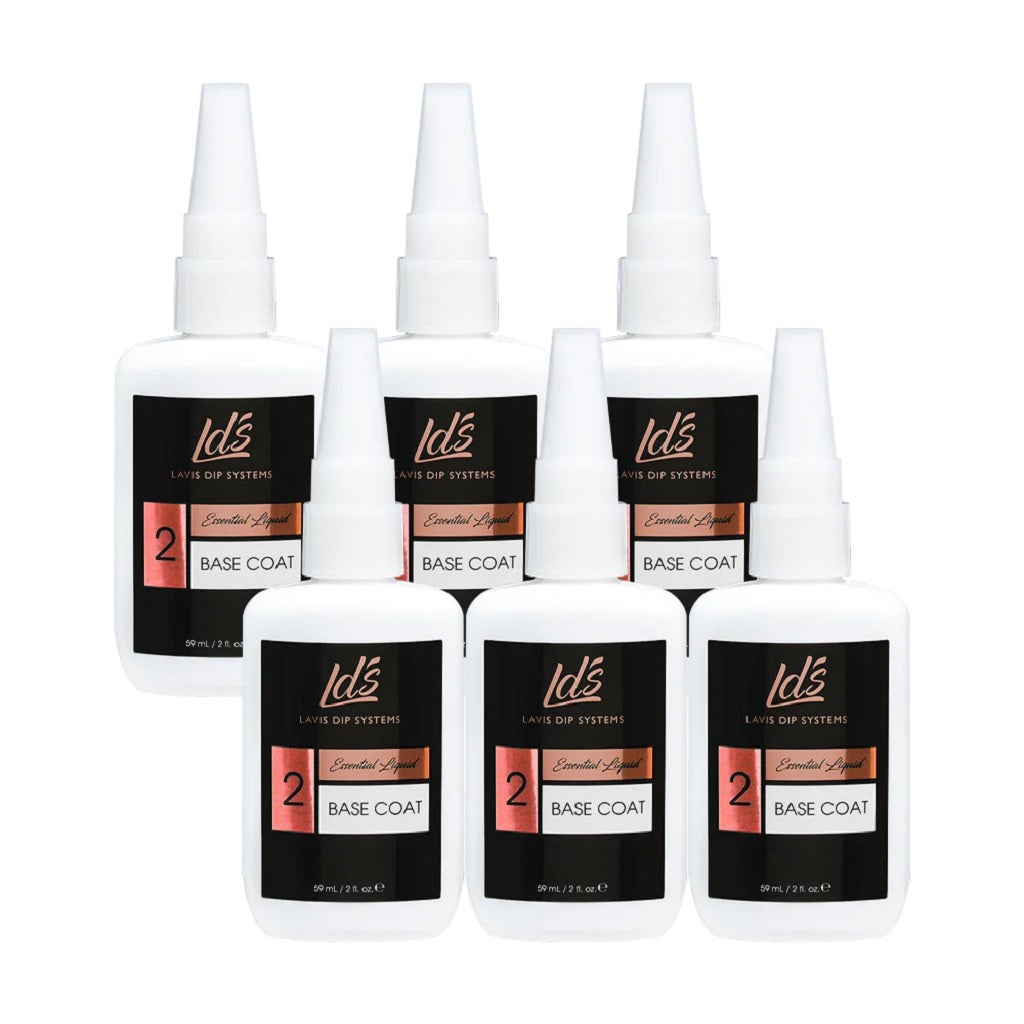
Base Coat
When you apply the base coat, keep it about ⅛-inch from the cuticles. Try brushing from the halfway point toward the cuticle instead of starting from the skin side and working toward the edge.
If you paint the skin by accident, clean it immediately. Otherwise, it will make the polish prone to lifting.
Now, dip the nail into the powder at an angle. Tap off the excess powder.
Paint another layer of base coat and repeat the dipping. Remember to cap the tip by coating the free edge of the nail. This is another precaution that prevents dip nails from lifting.
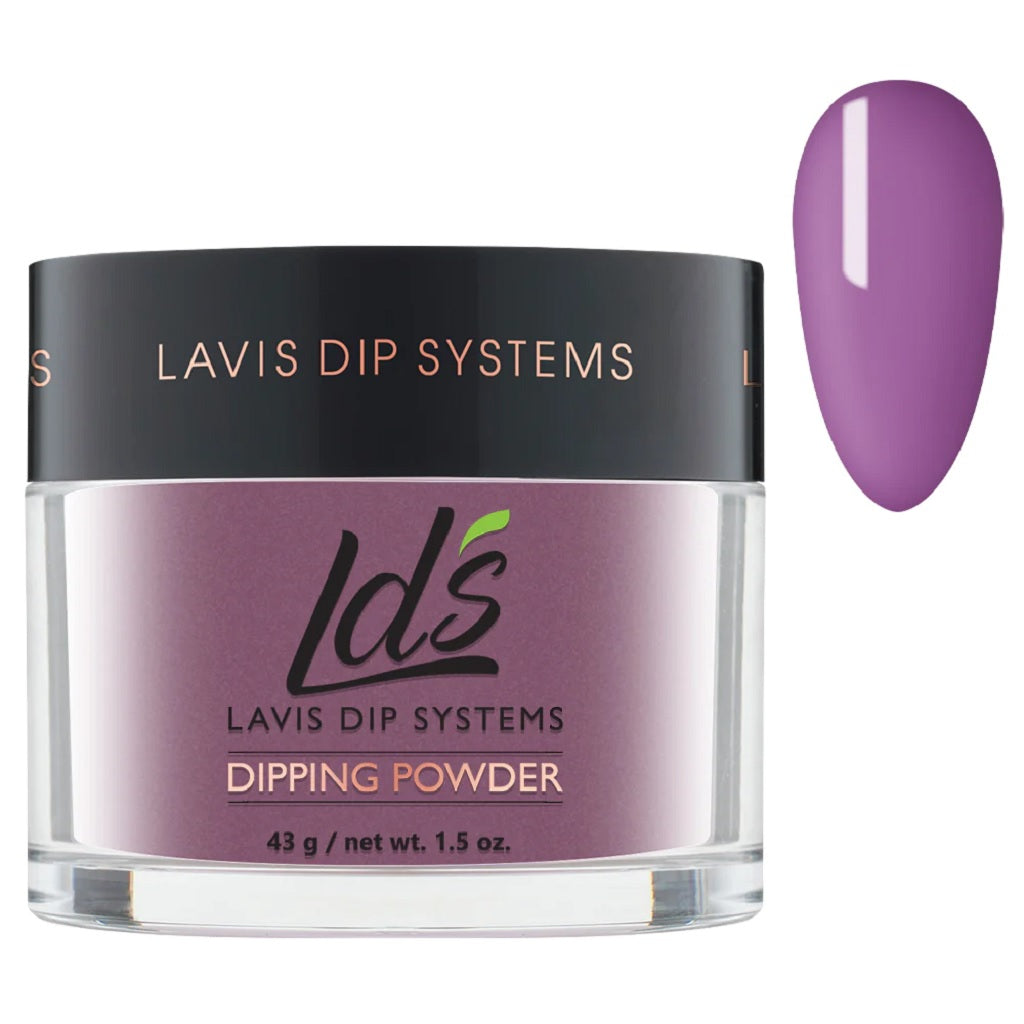
LDS Purple Dipping Powder Nail Colors - 019 Mauve
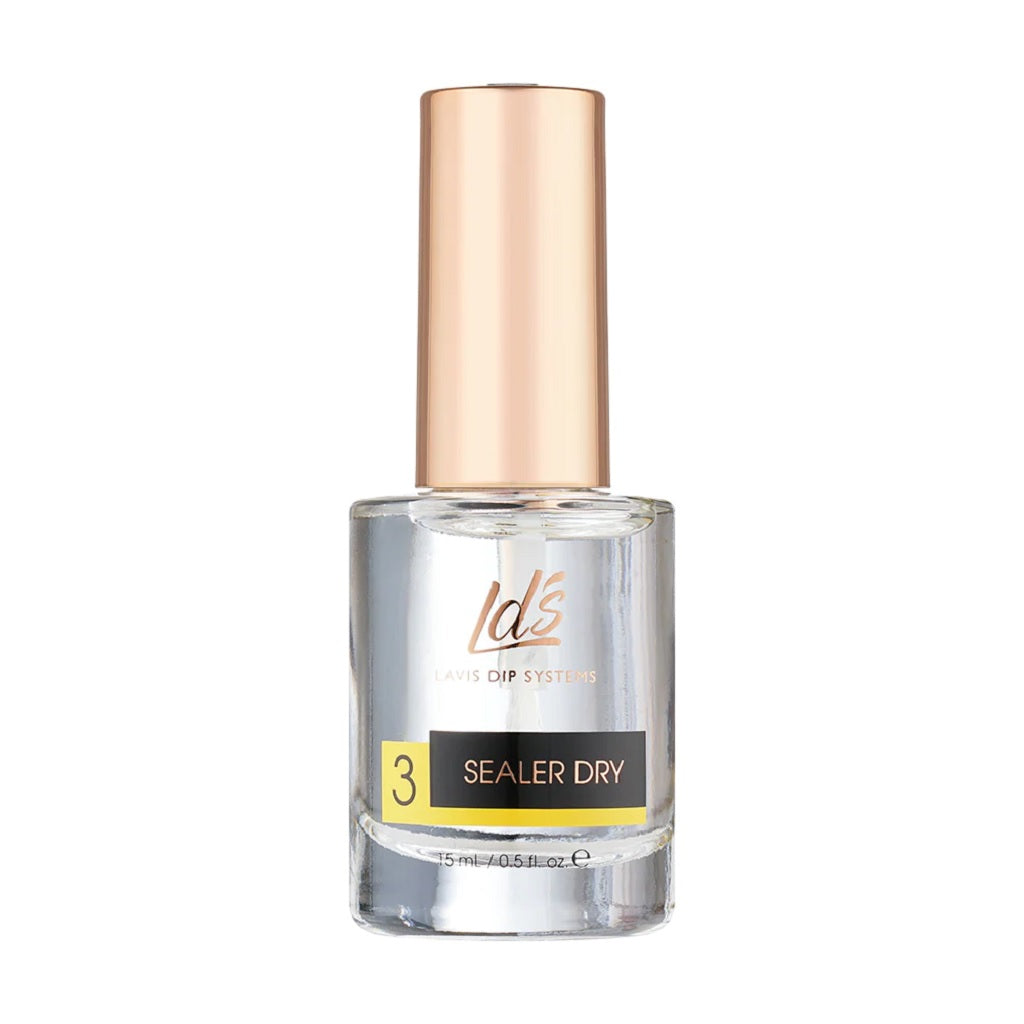
Dry Sealer or Activator
Apply a generous layer of activator liquid (known as dry sealer) to cure the powder. Wait a couple of minutes, then shape the nails with a file if needed. Then, brush on another coat of activator. Remember to cover the end of the nail.
LDS Dipping Powder Essentials #3 Sealer Dry
Top Coat
Finish with two layers of top coat, waiting about 30 seconds between each one. Cover all the edges, but don't touch the skin.
Brush Saver
The brush saver liquid will keep your dip powder liquid brushes working like new. It also guards against contamination and indirectly prevents lifting.
Conclusion
In summary, you can prevent dip nails from lifting with correct nail preparation and application. Take the time to neaten the cuticles and avoid applying liquids and powder to the skin. Buff, cleanse, and dehydrate to improve adhesion. Then, you can enjoy a beautiful and successful manicure for weeks to come!
Stock up now on needed nail supplies and take advantage of our sales. Check the clearance section for even deeper discounts.